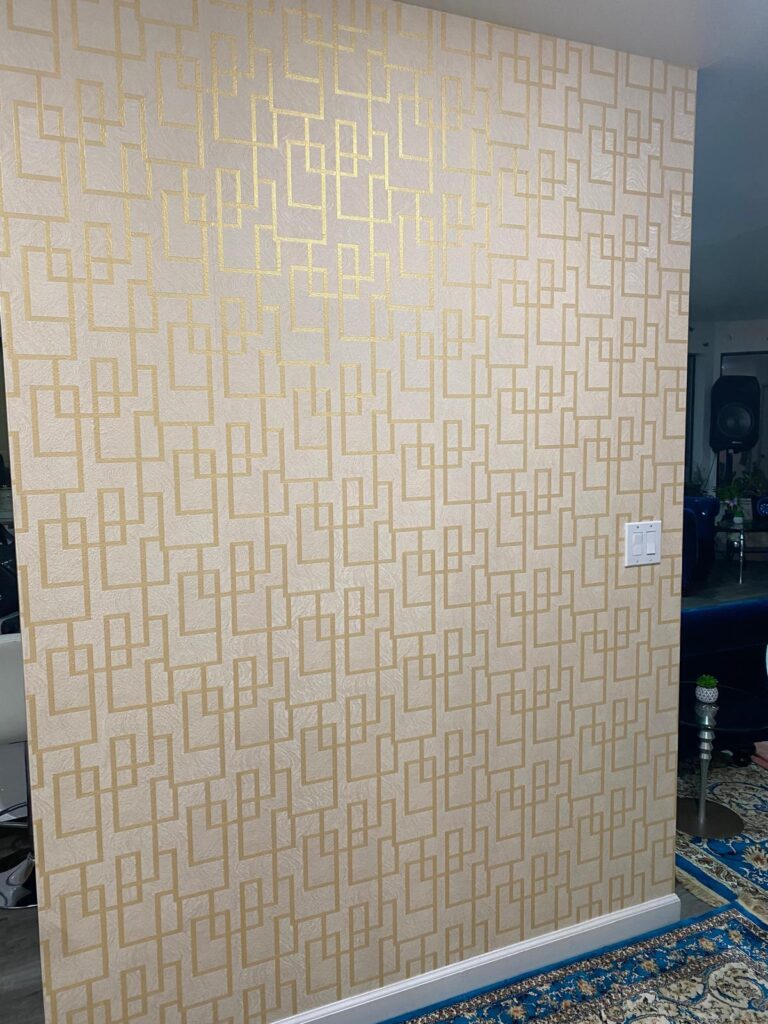
wallpaper installation
Installing wallpaper can be a great way to refresh a space, but it requires careful preparation and attention to detail. Here’s a step-by-step guide to help you through the process:
Materials Needed:
• Wallpaper rolls
• Wallpaper paste (if not pre-pasted)
• Wallpaper brush or smoothing tool
• Utility knife
• Measuring tape
• Level
• Drop cloths
• Sponges or cloths
• Seam roller
• Painter’s tape
• Bucket of water (for pre-pasted wallpaper)
• Wallpaper adhesive brush or roller (for unpasted wallpaper)
• Step ladder
Step 1: Prepare the Walls
• Clean the surface: Walls should be smooth, dry, and clean of any dirt, grease, or dust.
• Fill holes and cracks: Use a filler or spackle to repair any imperfections.
• Prime the walls: If your walls are highly absorbent or have been previously painted, use a wallpaper primer to ensure the paper adheres well.
Step 2: Measure and Cut the Wallpaper
• Measure the height of the wall and add an extra 4–6 inches (2–3 inches for the top and bottom trimming).
• Use a straight edge or ruler to cut the wallpaper strips.
• Match the pattern: When cutting subsequent strips, make sure to align the design or pattern.
Step 3: Apply Adhesive (For Unpasted Wallpaper)
• If the wallpaper is not pre-pasted, apply the wallpaper paste to the back of the paper with an adhesive brush or roller.
• Fold the wallpaper: “Book” the wallpaper by folding it on itself, paste side in, to allow the adhesive to activate. Let it sit for a few minutes.
Step 4: Apply the First Panel
• Start at a corner or next to a window to ensure the wallpaper is aligned.
• Use a level or plumb line to draw a straight vertical line on the wall. This will guide the placement of the first panel.
• Begin applying the wallpaper at the top, gently smoothing it down the wall as you go.
• Use a smoothing tool to remove any air bubbles and wrinkles. Work from the center outward.
Step 5: Trim Excess Wallpaper
• Once the wallpaper is in place, trim the excess at the top and bottom using a sharp utility knife. Hold a straight edge against the wall as you cut to keep the line precise.
Step 6: Hang the Next Panel
• Match the design: Line up the pattern with the previous strip and lightly press it into place.
• Smooth and trim the same way as the first panel, paying extra attention to the seams to ensure they are tight and well-matched.
• Use a seam roller to press down the edges for a clean, finished look.
Step 7: Finishing Touches
• Wipe off any excess adhesive or paste with a damp sponge.
• Allow the wallpaper to dry completely before placing furniture or hanging anything on the walls.
Tips:
• Pre-pasted wallpaper: Dip the wallpaper strip into a bucket of water to activate the paste before hanging.
• Corners and outlets: Use extra care when cutting around corners and outlets for clean, precise edges.
• Pattern matching: Always buy an extra roll or two to account for pattern matching and mistakes.
Common Mistakes to Avoid:
• Skipping the priming step, which can lead to poor adhesion.
• Misaligning the first strip, which can throw off the rest of the panels.
• Rushing through the trimming, leading to jagged or uneven edges.
Following these steps carefully will give you a professional-looking wallpaper installation!
home remodeling llc is one of the best and quality wallpaper install in kent and seattle area.we do our best to make our clients satisfy and rate our reviews.